10 Tips for a Successful Decorating Project

Photo Courtesy of House Beautiful

Ponder this for a few minutes…

I love that quote and it’s so true. Think about it… what makes a house a “home” is what each person uniquely brings to their own space. Every home is different – a reflection of who we are and what we love. Starting a decorating project is often daunting, but it doesn’t have to be – take a breath and enjoy the process. These ten tips will help you create a space you love…
  1. Dream, explore, discoverTake some time to look through magazines, web sites, and newspapers; randomly clipping things that catch your attention. Don’t over think it too much. This will help you find an inspiration picture and ideas you may want to incorporate. Don’t be so sure that you and your spouse, partner or roommate are worlds apart. Designing for the sexes is not always as hard as you think!
  2. Know your space. Whether reading a floor plan or drawing your own floor plan, understand your room. How does it feel? How do you want it to feel? What will you do in this room? You can have beauty and function in every room! 
  3. Develop a plan. Look at your house as a whole and then break down each area. Whether doing a single room or a whole house; this is important. Set a budget and priorities. Inventory the items you own that you will keep, and create a wish list of what you’d like to put in each room.
  4. Get Organized! Keeping your project organized will save you time and energy. Keep everything in one place so you can grab it for shopping, meeting with contractors and finalizing selections. 
  5. Pick a starting point. Whether an inspiration picture, a piece of art, furniture that you love, or a favorite paint color; choose it and go from there. Still overwhelmed? Select the finishes for walls and floors and then work on the focal point or area of the room and spread out from there.
  6. Don’t be afraid – especially of color! Everyone makes mistakes, (even the professionals!) but you’ll never know if you like it if you don’t try it. The biggest fear for many is picking paint and matching colors. When using the age-old “squint test” it’s easy! Click for more about the squint test
  7. Furniture. Arranging furniture shouldn’t overwhelm you. With a floor plan and some “rules-of-thumb” you’ll save your back and discover that arranging furniture is fun! 
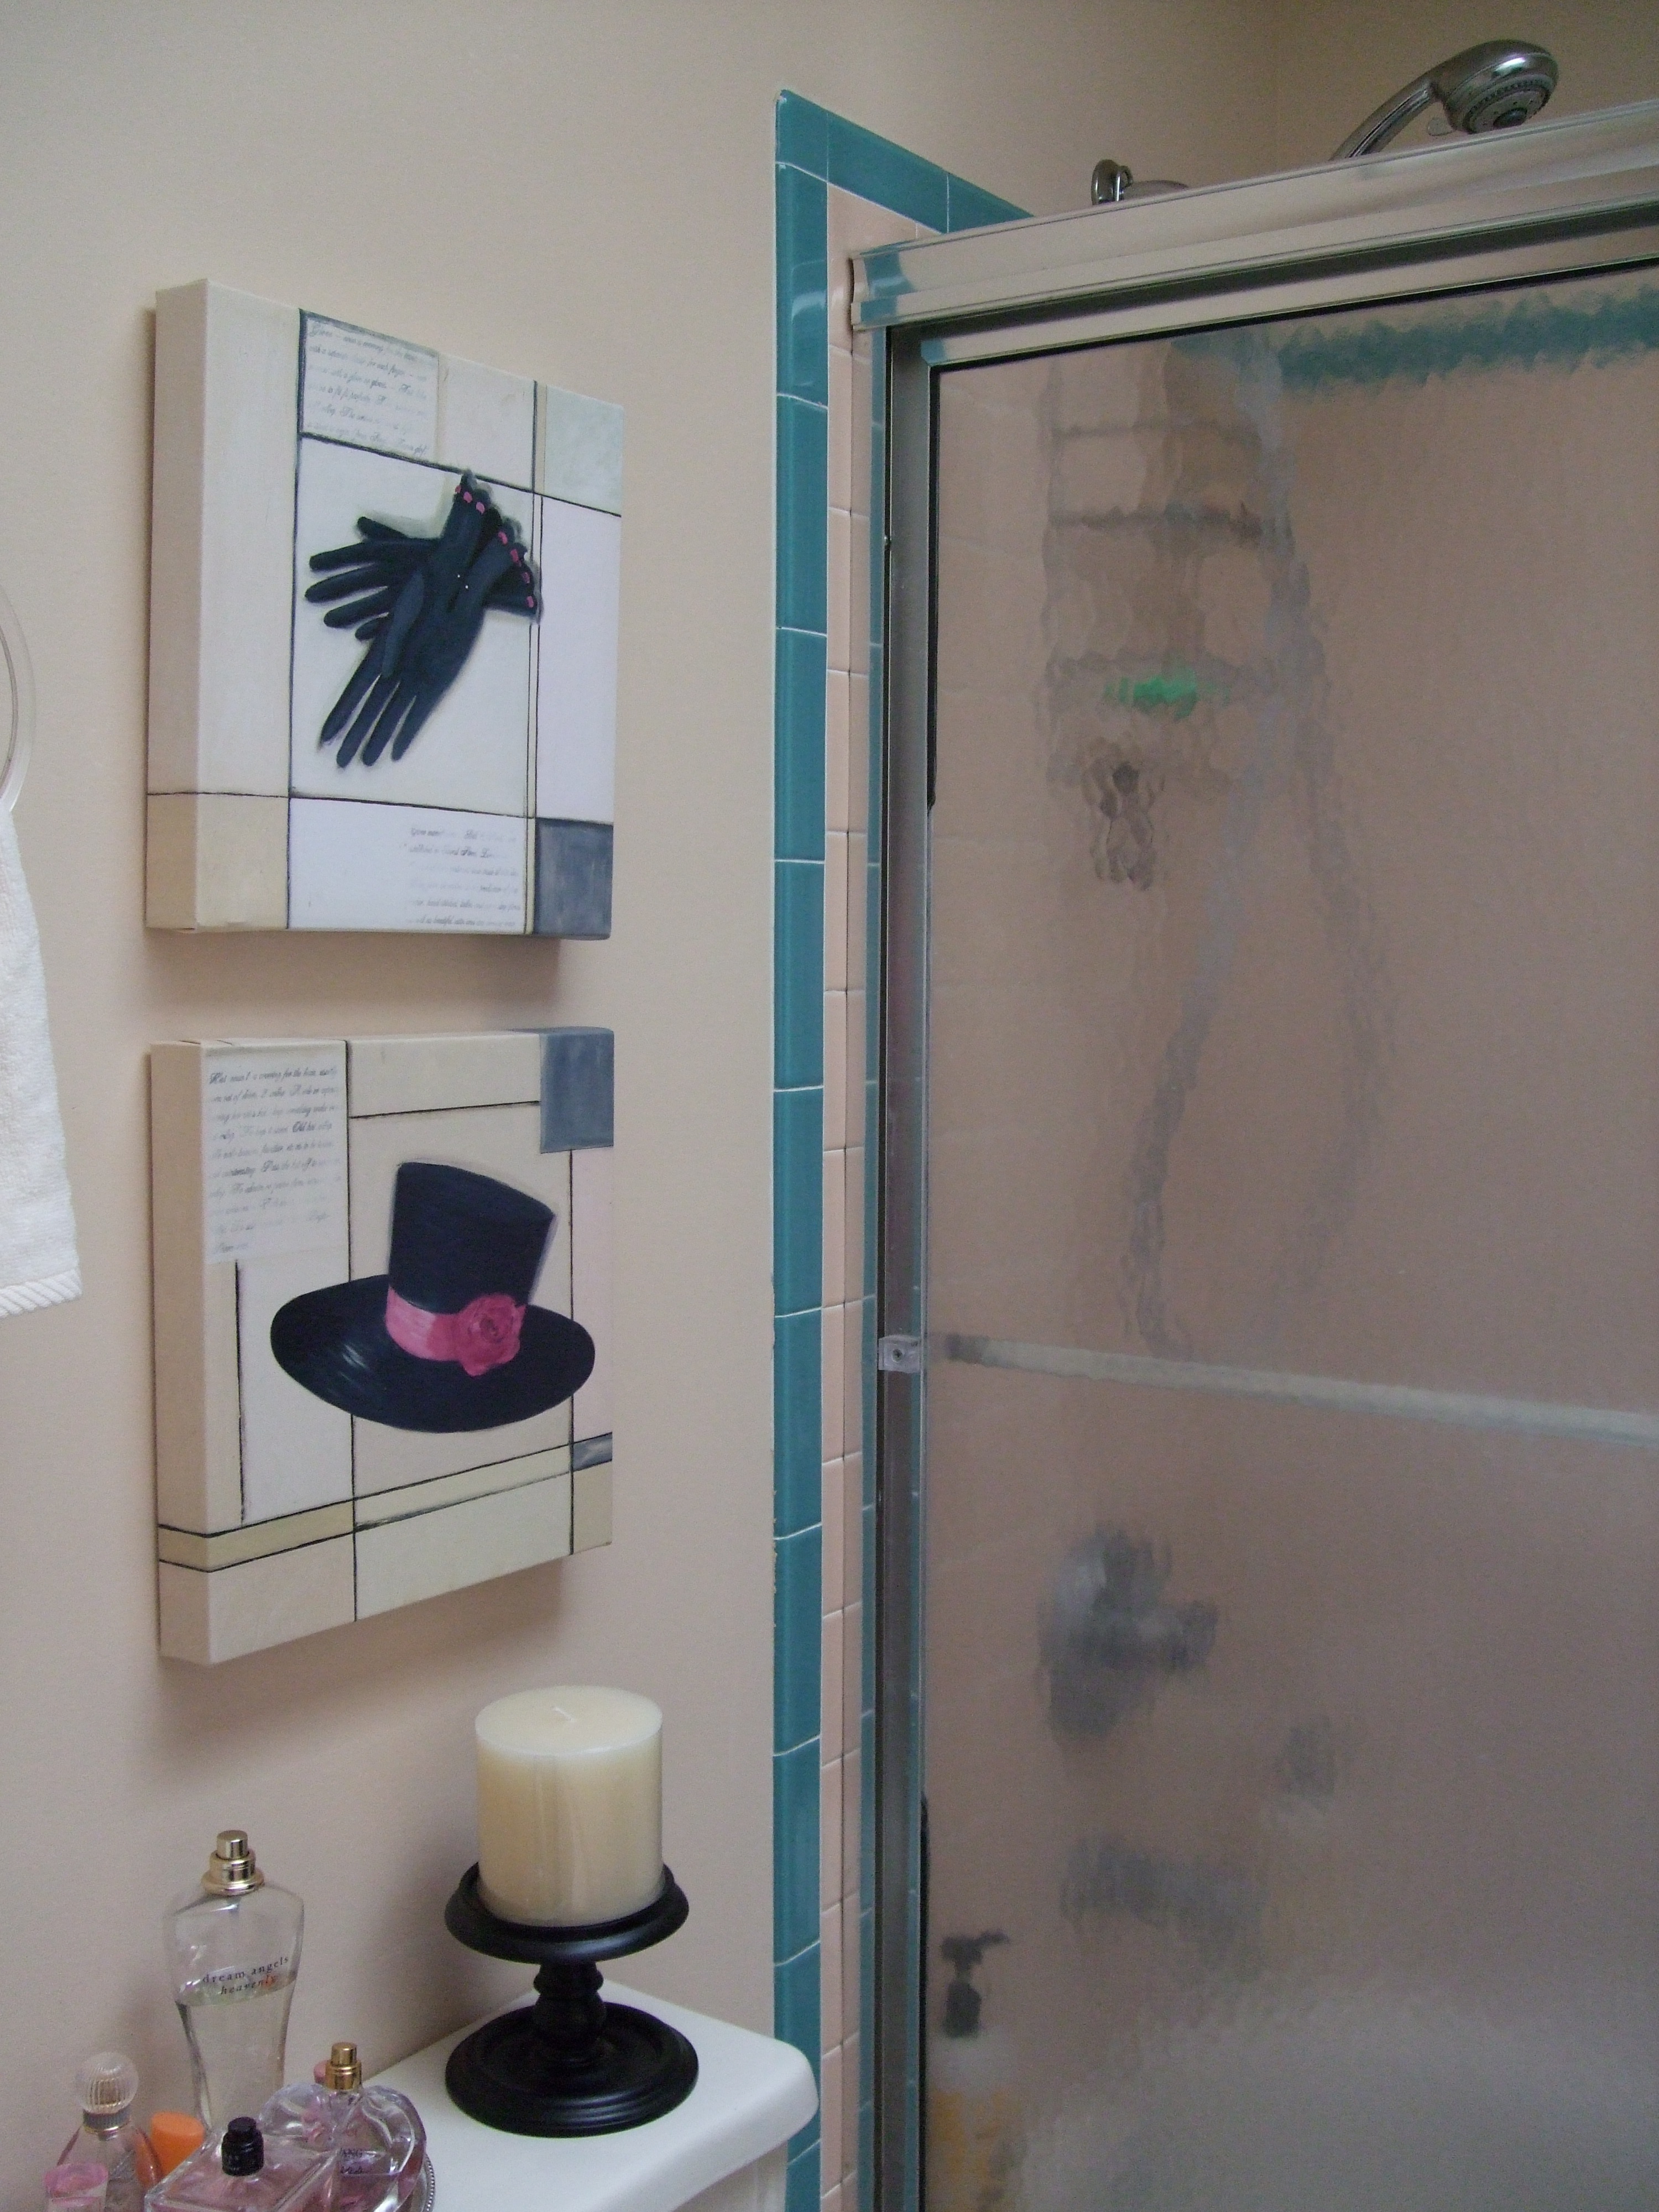
  8.  Remember ceiling! We all know we need to think about the floors and walls, but often forgotten is the ceiling. Ceiling details are a great way to add special touches and character to a room.
  9. Lighting. This is key element of every space that is often forgotten. There is day-to-day lighting, task lighting, accent lighting are equally important a room that both functional and beautiful. Lighting can make or break a room.
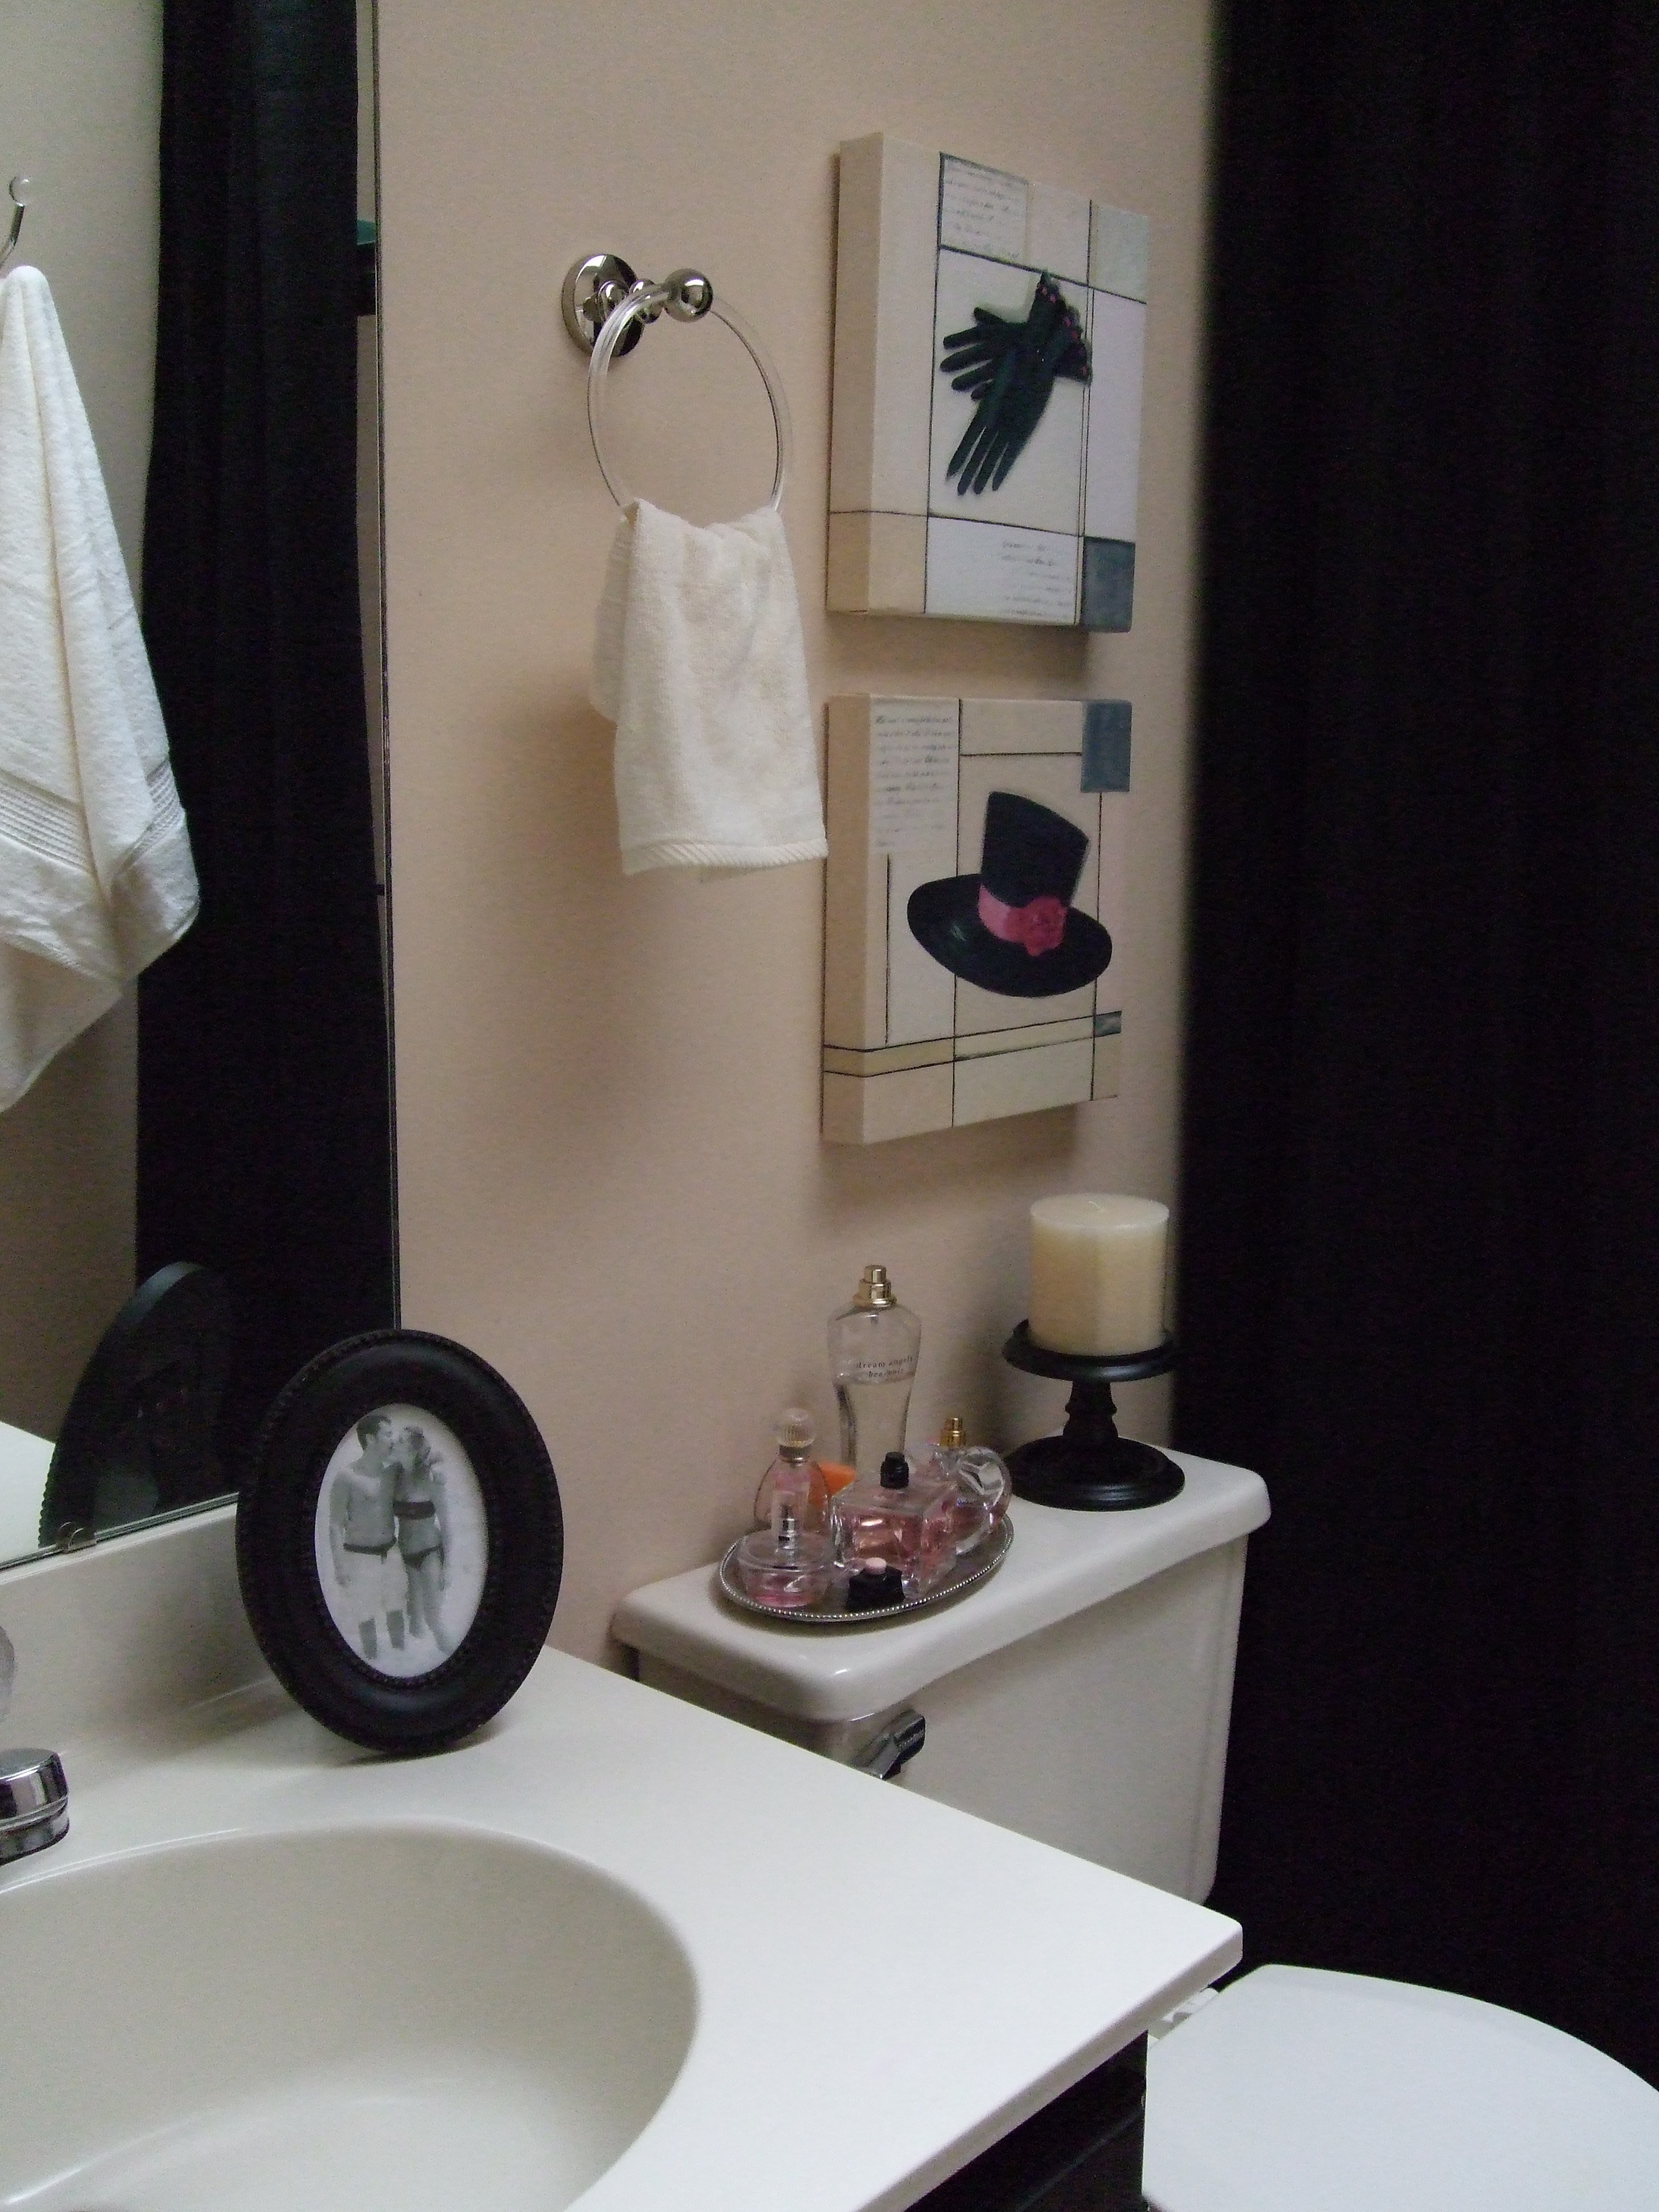
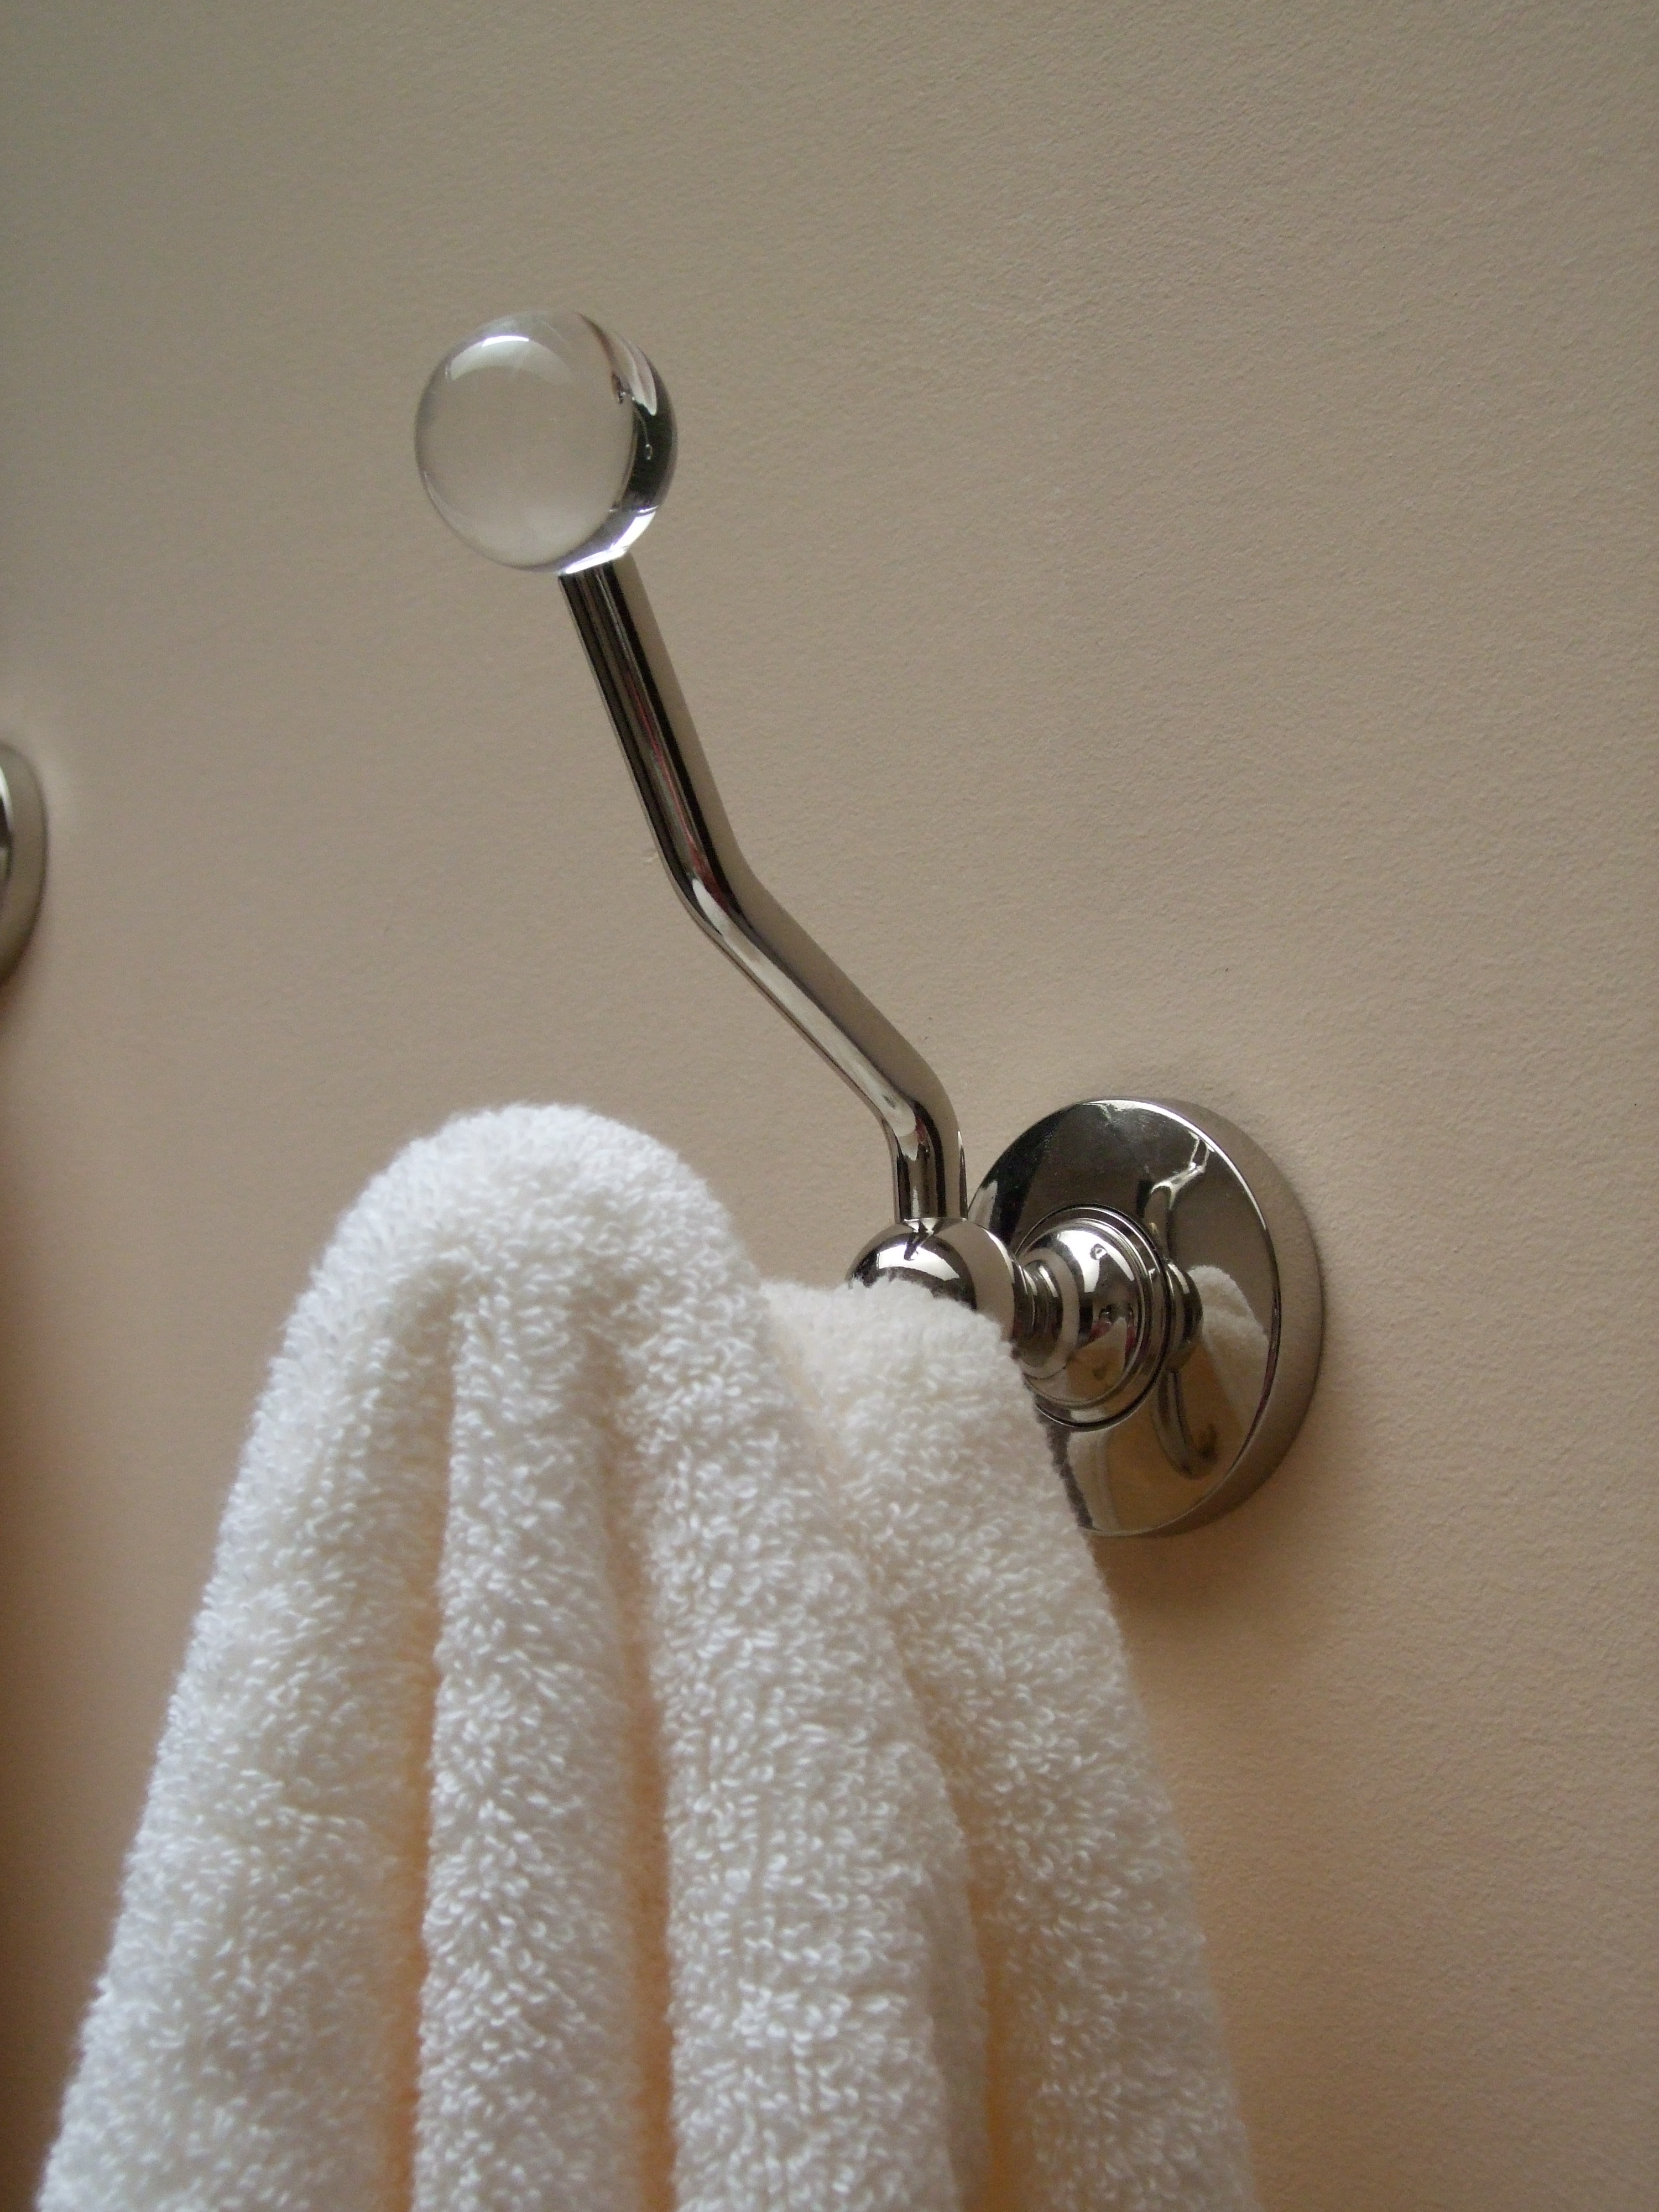
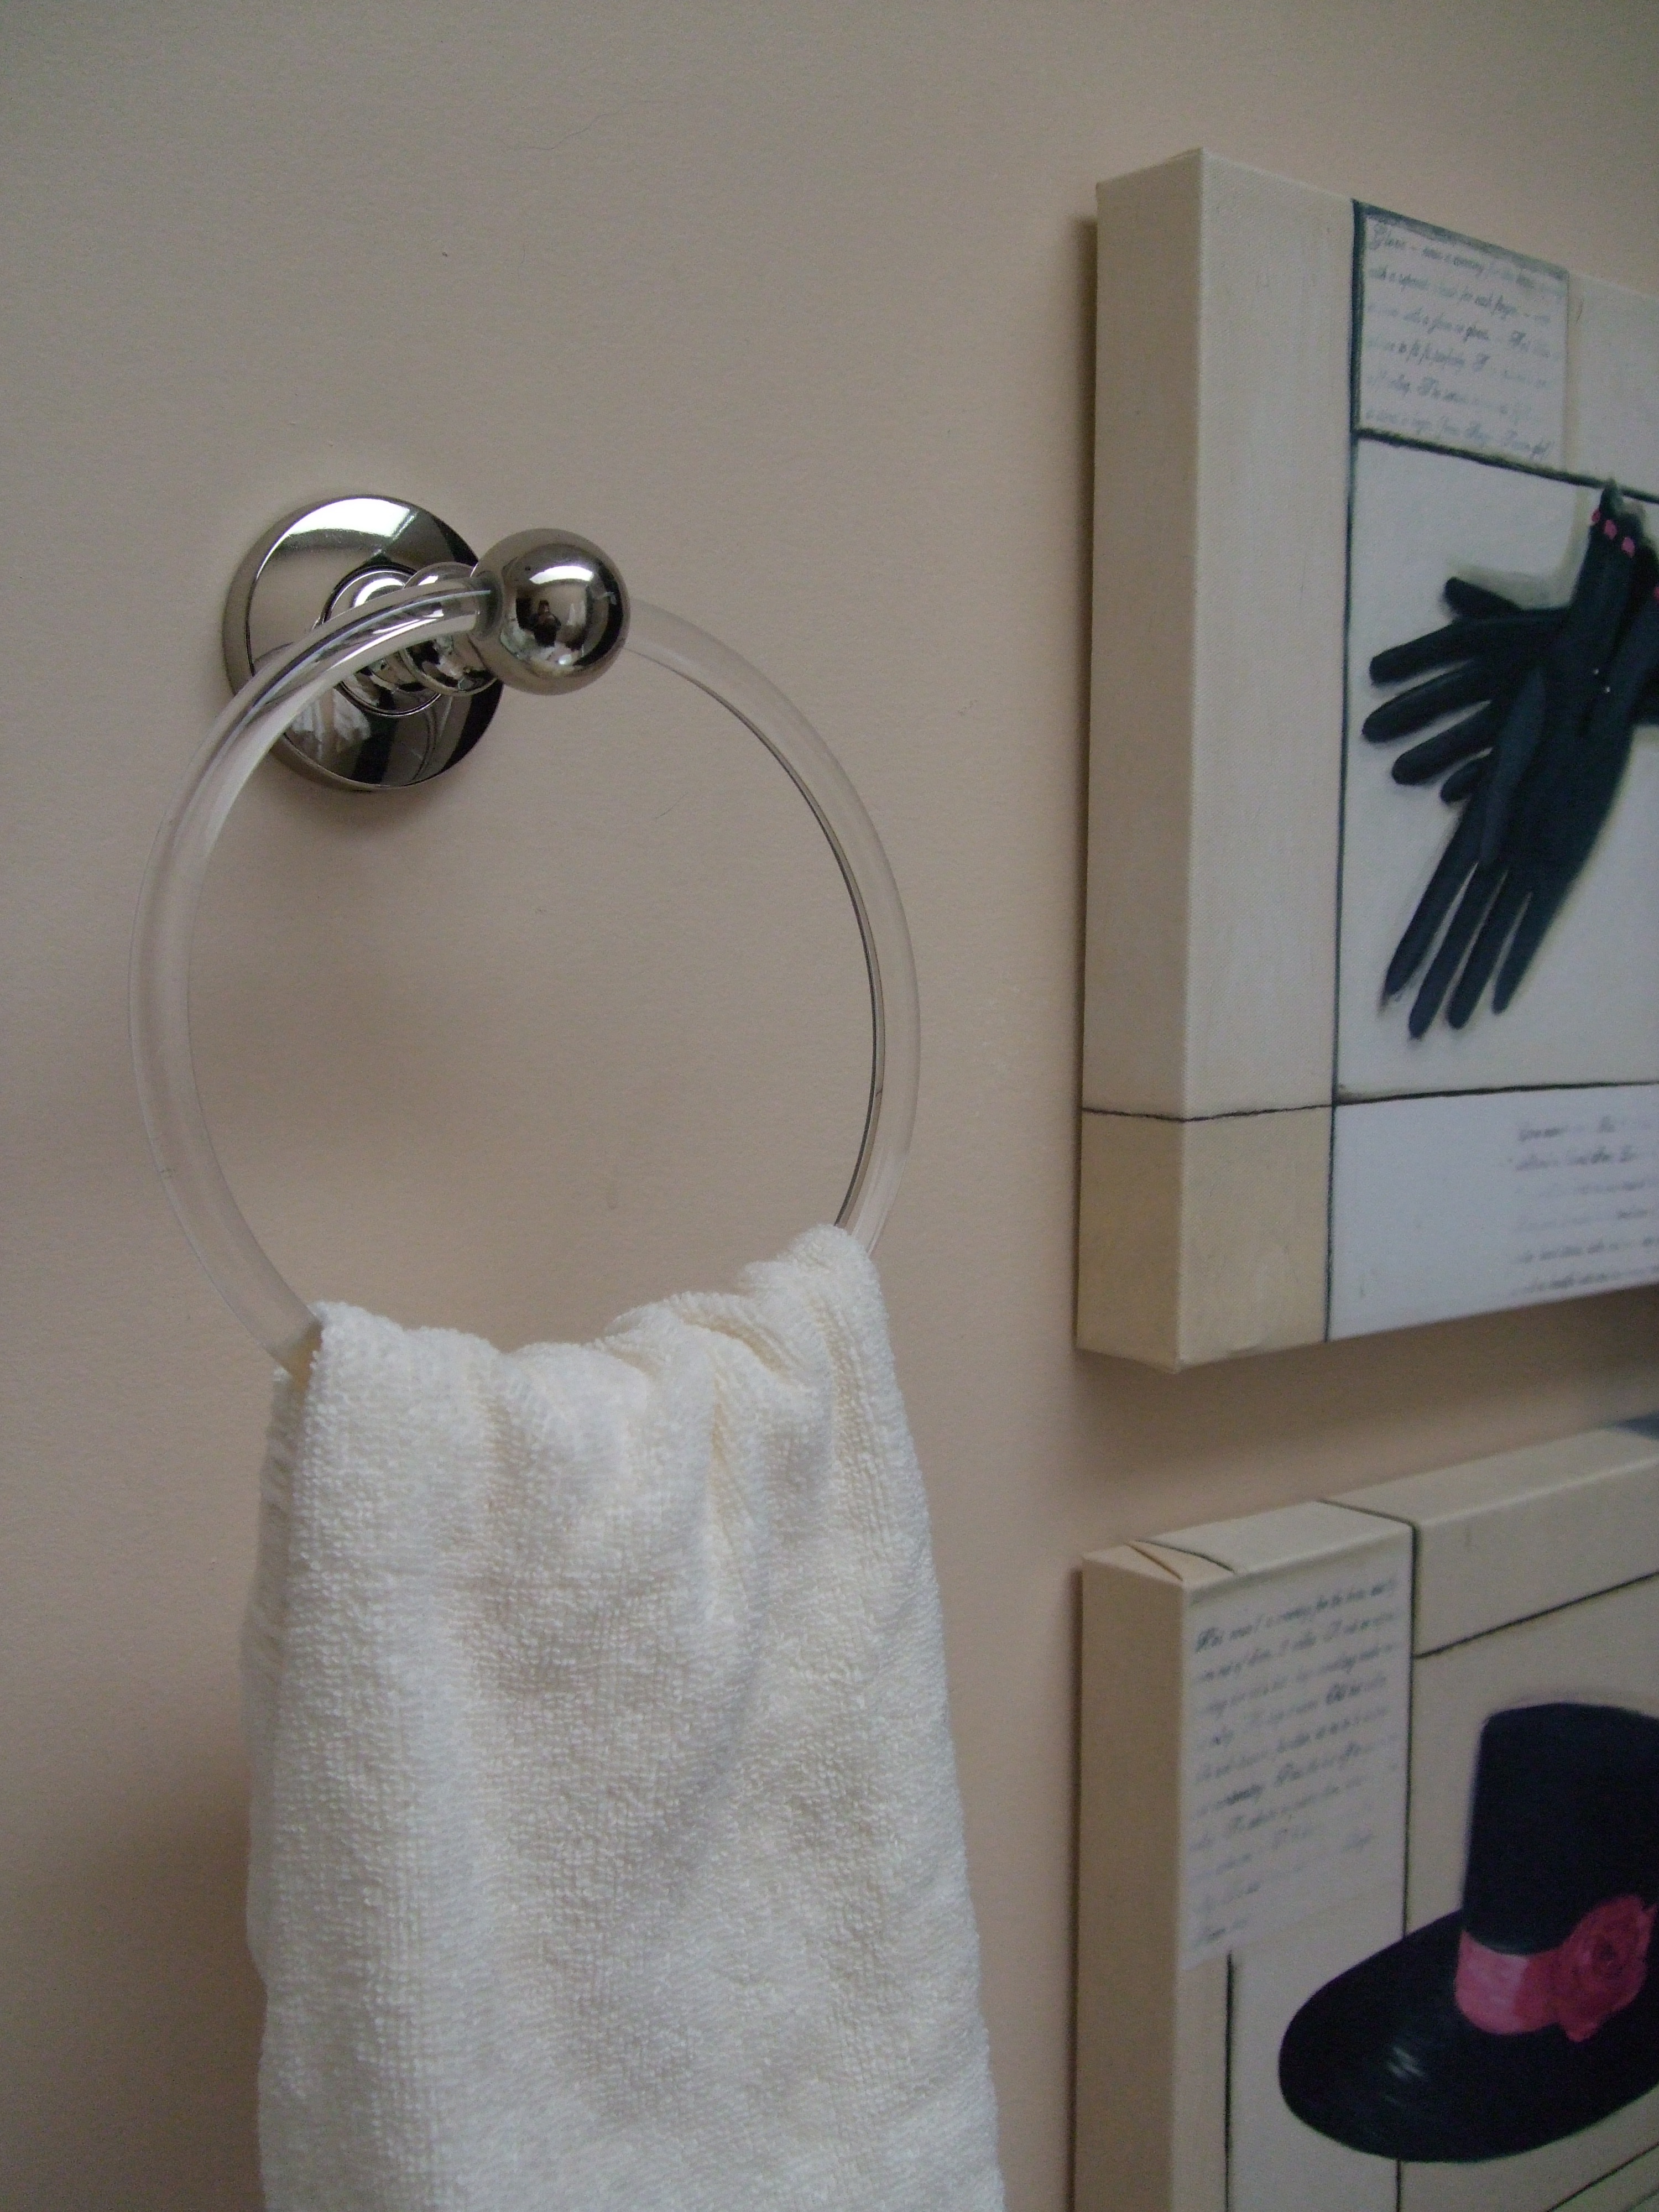
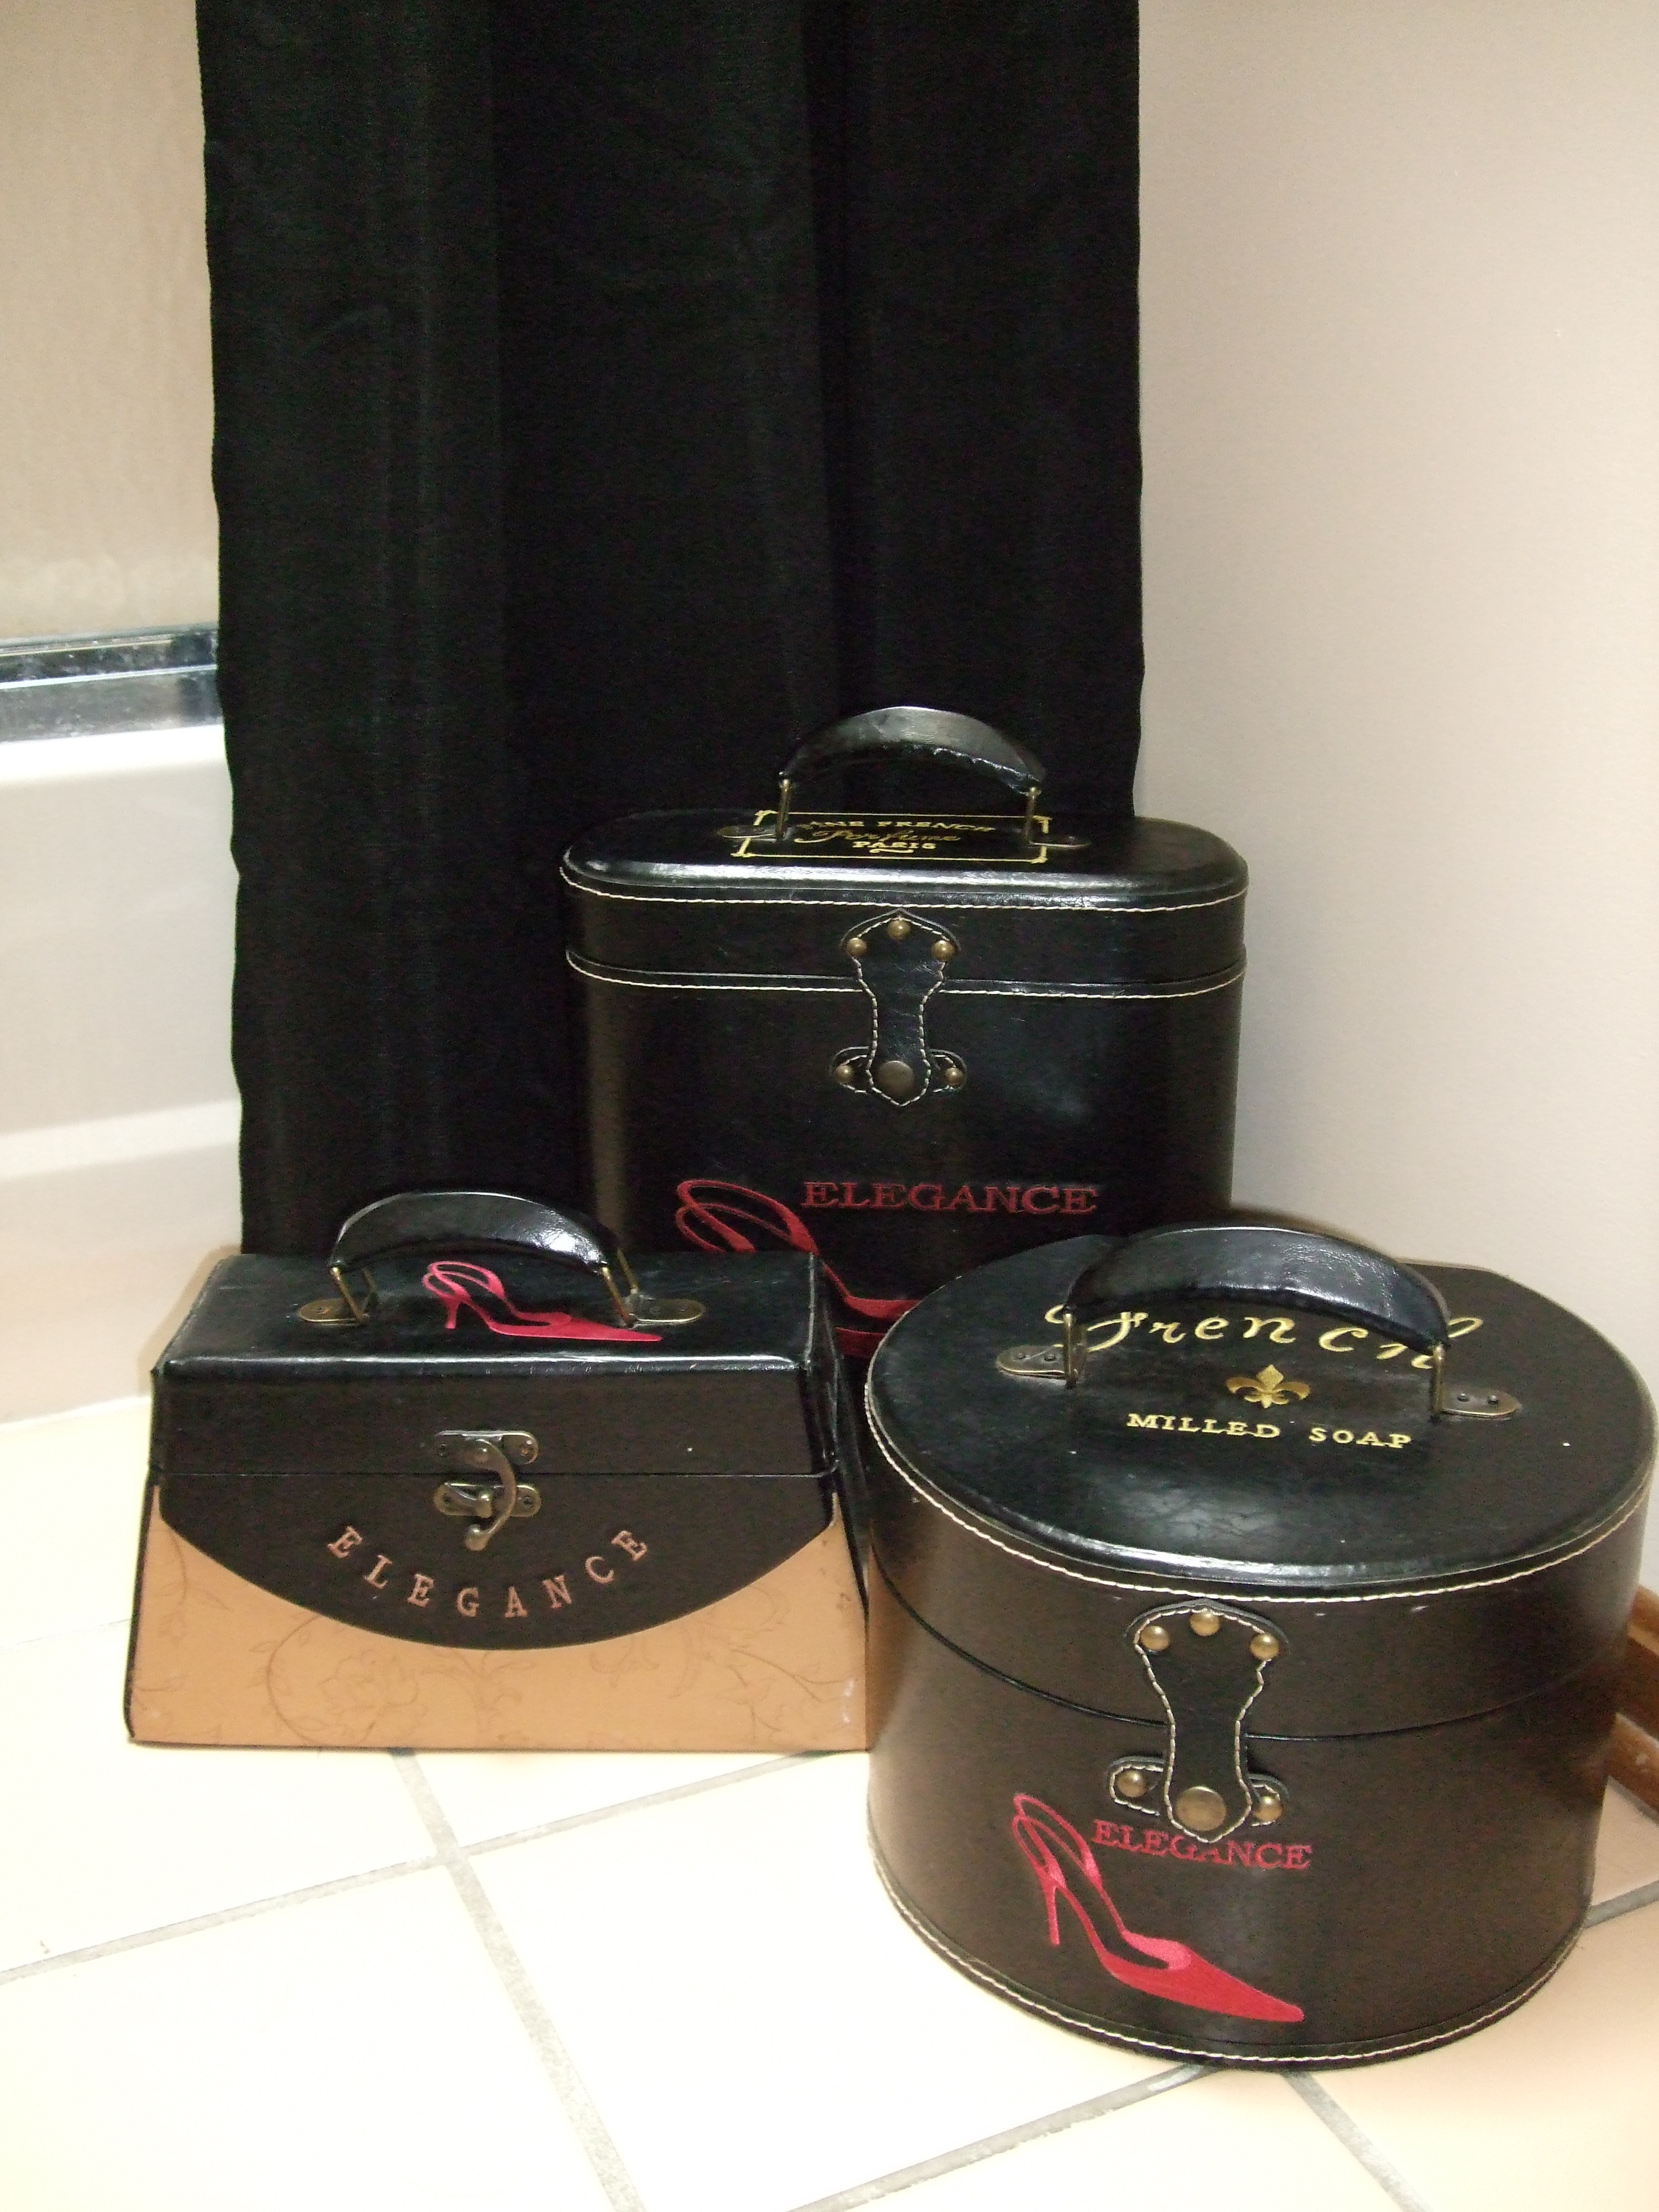
  10. Accessorize, accessorize, accessorize. Often neglected or eliminated because of budget, accessories are ever so important. They define the personality of the room. Plant ledges, mantles, tabletops, etc.  are key places to create interest and tell the story of your home. Approximately 15-25% of your room budget should go towards accessories – this is not the place to negotiate. 
Happy Decorating! xo Amy

5 Rules to Creating an Organized Life

These are my rules for getting organized in 2010. I’m pretty sure they will be edited along the line, but for now, this is what I’m going with…

1. ) If you don’t love it or need it….give it or throw it away. Period. Be choosy about the things you surround yourself with. The things you love are what make your house a home – if you have a problem letting go, ask yourself if it makes your home more beautiful or does it have sentimental value to you. If it’s yes to either…keep it. If it’s no…pitch it. Can’t decide in 5 seconds? Pitch. 

When determining if it’s something you “need”, ask yourself when the last time was that you used it. If it hasn’t been used in the last year…you don’t need it. Go through whatever you’re cleaning out and be faithful to these two rules. Go back a week later and see if there is anything else you can let go. I have one exception: I’m not letting go of my Calvin Kliens until I can fit into them again. I need them for inspiration 🙂

2. Create a place for everything and put it back in its place immediately after using it. My mother used to drive me nuts. In retrospect, I think I drove her more nuts. She knew the minute that something was missing from its place. Our house was never cluttered unless you visited my room. I now get it. It needs to become a way of life. Pick it up – put it back. Pretty simple, but  life changing when put into action.

3. Organize NOW, worry about pretty later. This is particularly difficult for me. So incredibly difficult, in fact, I’ve come to realize I’ve used it as a crutch. In my anal little mind, I want everything organized AND looking beautiful. In fact, it drives me out of my mind so much to see that I have old vinyl floors in my pantry and laundry room, that in the past, I didn’t organize or keep up with them because I knew they would still look ugly. In fact, I applied that concept to most of my home which definitely needs a makeover. The good news is to stay tuned because there will be lots of before and after pictures of my home along the way. Here’s two examples of before and after of areas in my house. The Guest Bath  The Pink Bath  There is so much left to do, but I’m thinking this will be so much fun to share with you!

I finally organized my laundry room last month  in spite of its ugliness and I swear to you it feels as good as losing 20 lbs. The areas still need a new floor and coat of paint, but that will be phase II. I did put up a little plaque, fabric bins and an inexpensive valance, but I can now live with it until phase II.  The point here is to quit making excuses and get rid of the crap. Here’s a news flash: The crap makes it uglier. Split organization and decorating into phases if you have to, just get started.

4. It doesn’t have to cost a lot. The truth is, it doesn’t have to cost ANYThing to get organized and if you have a budget of zero, you will actually save money by getting organized. It’s amazing to find what you can save and what you can find. The point here is the same as in rule 3 … just do it.  I will have a small budget; keeping an eye out for items that I already own and inexpensive bins and such to buy that will hold and store items. The goal is to find storage  items will serve a purpose and yes, look beautiful. I am a firm believer that beauty should strive to be functional and of course everyone should have beauty in their life.

5. Do something once a week. The key to creating an organized life is to do something consciously towards it every day and actively towards it every week until you have an organized life. Every day you’ll be putting things in their rightful place and every week, you should pick a new area of your life to tackle. It might be a drawer, a paper trail or the garage. The point here is taking on a project each week, however big or small, brings you one step closer to your goal.

Tomorrow I’ll show you a couple of my projects from last month…my purse and my trunk.  xoxoxo

Designer Quote by Billy Baldwin


Billy Baldwin (1903-1983)

Billy Baldwin (1903-1983)

“Decorators should never insist on throwing out everything the client has. Even when they are far from perfect, loved possessions add personality.”  Billy Baldwin
                                                                                                                                                                    
I love quotes. It just seems to me, that quotes are full of such wisdom; inspiration that for some it took a lifetime to find. This quote from Billy Bladwin caught my eye today and is as timeless as ever. It’s actually a great quote to ponder as we all battle this difficult economy.  
 
A good designer will take the time to find out what is precious to you. They’ll come to understand what you love, how you live, and use this knowledge to make your house a home. It’s not about buying everything new. It’s not about creasting a showcase. In fact, a good designer knows that it’s not about them, but truly about you. It’s something to remember when starting a DIY project. It’s always nice to have something fresh and new, but sometimes hanging onto to pieces of the old reminds us of who we are and provides warmth when we most need it. 


What’s the Big Deal? Downsizing Your Life.

house-from-left

This is definately larger than my childhood home

I read an article a few months ago about a woman who was renting a one room cottage on the property of an estate. Set back by a late life divorce, she had to learn to budget which made her realize she really didn’t need to live as large as she had been living. The cottage became her paradise. She only had space for her favorite things. Everything was amazingly organized (by necessity) and ultimately, it was the place she loved to be.

Downsizing for her actually turned out to be a wonderful thing. But…wait,  isn’t it all about the big house, the expensive car, the designer bag? Maybe, but I’m thinking… that was then and this is now (didn’t you just love that book?) After all, Obama is calling for change, Maddoff is losing his penthous and the lady standing next to you in the elevator has the same Prada bag on her shoulder as you . Of course you know hers is a knock-off, but does anyone else?

I saw a page from  January’s “O” Magazine that talked about how everything from houses to dishes have gotten larger since the 1950’s and 60’s. I remember thinking when I was growing up that our home was pretty nice. I had my own room, we watched Charlie’s Angel’s as a family, dinners were always around 6:00 pm or when dad got home from work; life was pretty good.

I’m not sure at what point we began to “Live large”. Did you really want to increase your plate size from 9” to 12” and ultimately eat more? Well, maybe we really did need our chair sizes to grow from 20” deep to 25” deep to fit our increasing backsides. I guess that’s also why our average bath towel size has increased from 24” x 42” in 1956 to 34″ x 56″ today. I don’t remember thinking that 19” was small for a TV. In fact when I was newly married, I thought we were really fortunate to have a 22” in my bedroom. Now my 42” flat screen looks tiny compared to other models that I see.  

tom-dunn-and-marilyn

Dancing the night away in the 50's

I am sure my mother and father were perfectly happy at this dance (above) in the late 50’s with a 5 oz glass of wine. Today, a wine goblet will hold an average of 12 ounces.  I’m pretty sure that for most people, five would be a much better choice.

The bottom line here is that although downsizing may not be for everyone, if you are willing to change your “Image is everything” mentality to “less is more”, you might find that you’ll save money, lose weight and quite possibly live a more joyful life. It’s definitely something to think about! In fact, I’m seeing that downsizing is the new craze.

Step Two: Choosing Finishes – a Kitchen on a Budget

paint-selections

On Monday I shared the begining thoughts from a few weeks ago  for a kitchen project that my friend Lori and her husband Bill are ready to begin. She had found a window treatment that she ordered off the internet to use for inspiration and we were waiting for it to come in. It came last week and over the weekend, we selected paint for the walls above the beadboard and also decided what would be the best finish for the new wood floor. Here’s the things we talked about…

window-roman-shade

The valance that Lori ordered from Pottery Barn turned out to be perfect for the kitchen windows and worked extremely well to pull together the green stove and the red coffee maker. The only suprising thing was we thought from the picture in the catalog that it had a yellow/gold color in it that we could match the walls to, but it ended up having a tinge of orange in it. After much consideration, we chose a color by Sherwin Williams called Afterglow.

I have a photo that I created on Sherwin Williams website using the actual color, but it really looks much more orange on the computer than it does in person. I think it will be a great color for the kitchen and add a fresh new feel. Especially with newly painted white beadboard and cabinets. If you ever want to get some paint ideas, you can to to the Sherwin Williams website and using the visualizer tool, you can pick a room that is most similar to yours – I picked a bathroom since it had the beadboard. Once you choose a room, you can play with different paint colors to see how it changes the look of the room. It’s a great way to get some ideas, but do not…DO NOT ever choose paint from a computer. A computer does not show you color in true form and a shade that you see online will not look remotely the same in person.

They currently have an existing wood floor in the living room that runs up next to the kitchen. It would be next to impossible to try to match it and continue the same floor into the kitchen. Rather trying to make it look the same, I recommended  installing the new floor in the opposite direction and matching the dark pegs that are part of their current wood floor which has a light colored finish. Their living room floor looks like this…

existing-wood-floor

See the round dark pegs? I’m thinking that if they chose a wood floor for the kitchen with a stain color similar to the stain on the pegs, that it will be a smooth transition. They agreed.

We also discussed how the colors will go with the rest of the areas that adjoin to the kitchen. This is where having a whole house plan comes into play. Since they want to continue the olive green color in the kitchen and solariam, the colors work well. The green will be a common thread in each area which will create a nice flow from room to room.

Lori showed me a picture that she bought and said she absolutely LOVES it. I loved it as well, and I think the apple itself goes really well with the roman shades and walls, but…I think that the background is just a little too much for valance. I asked her what she really loved about it, and she said the apple. With that in mind, she’s going to keep her eye out for another picture that has a large apple without the busy background. I think in the long run she’ll be much happier. If you find something that you LOVE, but it doesn’t quite work, figure out what it is that you love about and maybe you can find something else that will work even better. Here’s a photo of the picture she bought with the fabric below it…

dscn0355

window-roman-shade-cropped

 What do you think?  The next step is for Lori and Bill to dive in with painting the cabinets. When they get started, I’ll make sure to post some pictures. Hopefully, it doesn’t take as long as my dining room did – haha! Come to think of it,  it’s not 100% complete. I need to get moving on that 🙂

Step One: Finding Inspiration – A Kitchen on a budget

kuster-kitchen-color-board

My friend Lori called me a few weeks ago and wanted help picking colors for her kitchen. I knew I wasn’t going to be able to get together with her and her husband Bill for a few weeks, so I gave her some assignments before I met with them. I thought I’d blog about the process with you from beginning to end and also share my thought process so you can see how some of the decisions were made. Although I did get together with them this weekend to choose the paint colors, it really has been a project that they have done on their own. They key to a successful project is to really think it out before you run to the paint store.  When I talked to her a few weeks ago, she was biting at the bullet to get going, but by pulling back and really thinking it out, I think they’ll have a kitchen that they really love on a budget that they can afford. 

Here’s a couple of photo’s of their kitchen as it is now…

cabinets2Main kitchen above and side door next to eating area is below

side-door-in-kitchen1

INITIAL QUESTIONS

 What is your budget? Lori and Bill want to keep the project as inexpensive as possible. It’s one project of many that they have planned, and they don’t want to go to the expense of a full kitchen remodel.

What do you want to keep? Actually, the better question is what do you need to keep! Obviously, we’d all like to have everything new, but that’s not always realistic. Keeping their budget in mind, they have chosen to keep the existing cabinets, mini-blinds and appliances, but do want to replace the vinyl floor with a new wood floor and  the olive green sink with a white one. Fortunately, Bill is a willing to do all of the works (gotta love that!) which will save them alot of money!

Summary: Knowing the above, this is what they have to work with…

  • Worn, but charming painted cabinets that could use a little revitalization.
  • White refrigerator and dishwasher
  • Tall Painted bead board wainscoat which adds to the charm of the kitchen
  • Nickel finish table and 4 chairs with wicker seats. (Table has a glass top with blue inlay tile underneath, but we will not design around that, as we can ultimately cover the blue if need be.)
  • Olive green double oven that will eventually be replaced
  • Red coffee maker that was a gift from Bill’s parents

Do you have a particular style, color scheme or look in mind? They really didn’t have anything in mind or at least like most people they couldn’t verbalize it. They just new they wanted a new look. They wanted something fresh and inviting. A place they wanted to spend time in.  

HOMEWORK

I had Lori go through magazines and websites on her computer to find pictures of things that she loved. When looking on the web, some good places are sites of stores that you like, better homes and gardents (bgh.com)  or even blogs like this 🙂  Lori doesnt’ need to necessarily find photo’s of  kitchens, but rooms that she liked the look of. She also might find a piece of artwork, a color scheme, or a vignette that she likes. The point here was to  look and earmark anything that caught her eye and made her feel good. The only rule is don’t think too much. The end goal here is to find an inspiration picture or two.

Why do you need an inspiration picture or item? An Inspiration picture or item is a visual guide to help you start a project. It’s an invaluable tool, as it can keep you on track as you  become overwhelmed with  decisions you’ll need to make. It could be a treaured picture or item that you want to incorporate into the room or a photo of something that you love that you found in a catalog or online. Maybe it’s a photo of a room that catches your eye and you want to achieve that look and feel.

In Lori’s case, it was several things. Last week, she found first found a look in a pottery barn catalog that she loved…

inspiration1

And then she found a valance that pulled in the colors of her stove and her red coffee maker. 

window-roman-shade

Bill was a little iffy on the valance, but agreed to hold judgement till they saw the real thing. I took the inspiration photo’s and made the color board that is at the top of the post and suggested that the next step was to order the valance and see it it was right. She did get swatches from the local pottery barn, but with the size of the print, it was too hard to tell if it would work. 

Tomorrow, I’ll let you know if it matched and the next steps they’ll take!  


Beautiful Walls on a Budget!

circles

My daughter e-mailed me a link last night to a site with really beautiful and unique wall decals and re-stick art-I just had to share. Thanks Ashley! What I am so impressed with (besides the beautiful oversized graphics) is that in most cases you can customize the colors. Best of all is that they are sooooo affordable! Prices range from around $25.00 – $55.00. It was hard to pick a few to share with you! Check these out…


cyclamene


This could go anywhere. I’m thinking it would be great in a bedroom, living room or even an empty bathroom wall. By the way, this is probably where my dog is right now as I type from the office – on my bed!


wisteria


I love the scale of some of the graphics and this purple is definately a trend for 2009!


summer-breeze


Isn’t this Great for a Powder room or Bedroom?


daisys


 How about this for a teenager’s room, play room and even a kitchen?


word-search1


 Isn’t this fun for a family room or game room?


cards


 For Card lovers….


jungle-monkeys


And that favorite little tyke…


Have fun and check them all at www.whatisblik.com I think you’ll find it hard to find a favorite – I loved them all!

Ask a Decorating Question: Working around a Forest Green Carpet in a Bedroom

Photo courtesty of www.bhg.com

Patti wrote us over the weekend with a Decorating Question regarding her bedroom. She has forest green carpet, oak furniture, white walls and burgundy comforter and wants an updated look without having to replace the carpet.

I actually had a similar situation with dark teal carpet that came with the house we bought – I really didn’t like it, but it wasn’t in the short term budget to replace. In my case, I chose to paint the walls a warm beige color and used neutral bedding with accents of tiffany blue and deep brown. It turned out really nice and Patti, I’m thinking this approach with different accent color may work for you as well.

I searched through Better Homes and Garden’s idea area and found the photo pictured above of a bedroom that I think could be a great inspiration photo for you to use as starting point and added some suggested colors to the left (and a green one below to represent your carpet). It’s done in neutrals – with shades of white, creme and beige; accented with an orange-red in the form of pillows, accessories and artwork. I would start your project by choosing a warm neutral beige for your walls, making sure that it doesn’t fight with the finish of your oak furniture. The one in the photo above is actually a little cool.

Select multiple paint chips at your favorite paint store and tape them to your furniture. Stand back and squint. You’ll see some that will stand out like a sore thumb – get rid of those. What you are looking for is one that makes your wood appear warmer and even more beautiful against it. Once you choose a wall color, select several shades (both lighter and darker) in that family to use as reference when shopping for other neutral items such as bedding and pillows. The key to developing a success neutral color scheme is that the shades all work together. Using the “squint test” is a great way to see if they work together – if they blend, they work well together. If one sticks out – find another!

A simple way to shop for items, once you pick a paint color and other neutral shades is to staple or tape the paint chips you select to an index card and keep it in your purse. I’d also suggest matching a chip to your carpet and adding that to the index card as well so you have that  to reference when shopping as well.

Once you get your neutrals in place – painted walls and bedding, it’s time to add some accessories which is what will make your room special. I’d go with an orange red and dark browns (almost black). Don’t go too red, or it will look like christmas 🙂 You might also want to add a large area rug in the bedroom to “absorb” some of the green and a smaller one in your bathroom to pull the colors into there.

One thing to note about a neutral color scheme is that it’s details and textures that will make it really special such as in the photo above.

Here are some things I found that could work on a budget and look fabulous!

Nate Berkus has beautiful neutrals and textures (shown above) found at Linens and Things that just happen to be on sale!

And check out this Tulipere from Ballards. Fill it with fresh tulips or find some fabulous silk one’s at a craft store such as Hobby Lobby or Michael’s.

The Pillows above and art below are from zgallerie. Pillows may be a little pricey, but I like the bold stripe.

This pair of canvas prints may be the perfect touch for the walls – they are simple yet will really pull the room together.

These assorted items from Crate and Barrel Accessories are perfect for a little punch to a neutral room.

A rug like this from Ballards placed in the bathroom can pull all the colors together and provide some softness to the room. You might want to even choose to be really bold and paint the walls the organge-red color that you used to accent the attached bedroom!

Good Luck Patti! Send us Pictures when you’re done!

Amy & Jayne

Get Inspired by Sex and the City

I amazingly had never watched Sex and the City until last year. Thanks to my DVR, I have now seen every single episode. Imagine how excited I was when Ashley (my daughter) and I each won 2 tickets for the early screening of Sex and the City last night! Personally, I was excited just to have a girls night out. She on the other hand was excited about that too, but was equally as excited about the mandatory, ‘I have nothing to wear’. pre-screening shopping marathon that was necessary in order to attend the event.

As luck would have it, she found the perfect pair of hot pink 5″ pink stillettos with a fab flower atop each toe that perfectly matched her pink chiffon knee length new dress. I admit that for a very brief moment I had a flashback to my twenties and slipped a pink stilletto onto my freshly manicured toes. WARNING: If you haven’t worn stillettos in twenty years – you probably shouldn’t wear them in this century – trust me they are dangerous.  Did I really once dance in these till the wee hours at Studio 54? That’s another story, but, I do think believe that Ashley and I have gone full circle. I pulled out my pink vintage purse that I bought in the NYC village flea market before she was born and instead of rolling her eyes, she actually carried it to the preview. For those of you with teenage daughters – there is hope for you yet!

So, back to the movie… Did I say it was Fabulous? Here’s my review: I LOVED IT! My plan was to keep an eye on the amazing interiors I would surely see and then report back to you. I don’t think I saw any. I was so wrapped up in the girlfriends, steamy scenes, stylish clothes and of course the amazing shoes, that I swear they didn’t show any interiors. you’ll have to tell me if I missed something 🙂

Since I sadly have nothing to report regarding the inside of their homes, the philosopher in me feels compelled to encourage you to find inspiration for yourself and your home through Carrie and the girls. Note: Some of what I write below will make more sense after you have watched the Movie. Here are my thoughts…

Rekindle a Friendship. When I won the tickets to Sex and the City, something propelled me to call a friend that I dearly love, but whom I hadn’t called in a shamefully long time. She asked me as we were driving to the theatre, why I asked her when she had never seen a Sex and the City episode. I answered simply and honestly – “because I missed you”. It was like we had never missed a beat. It’s those kinds of friends; the one’s who love you inspite of yourself, that you should call.

Learn from Carrie: Style is not determined by Budget. It’s true. You’ve seen Decorate on a Dime and Shabby Chic. Find an inspiration picture. Study the lines (curvy, ornamental, sleek, etc.), note the patterns, explore the use of texture and use that as a guideline for shopping. Style is about knowing the attributes that make a room beautiful. It’s NOT about the label.

Honor the Samantha in You. Most of us are so busy working, nurturing others, and taking care of our homes that we forget out ourselves. You may even say that we ‘lose’ ourselves. I ask you this – if we don’t honor who we are, who will? Make YOU a priority in your life!

Forgive like Miranda.  Forgiveness can be hard. Let’s face it, it’s easier to stay mad than to forgive. But life is too short to carry the weight of anger and hate. Try to forgive someone who has hurt you. It doesn’t mean you have to like them or even have a relationship with them, but yours will be a much lighter load and you may even find that forgiveness can change your life for the good.

Be a Charlotte. Do you ever look at someone who is ‘always’ happy and want to slap them? Is anyone ever really that happy? The truth is no. But the other truth is that happiness is a choice. You can choose to see the glass half empty or half full. You can be a pessimist or an optimist. You can CHOOSE to be happy or choose to be sad. Sad has it moments, and sometimes we need to be sad – but if you remember to choose happy most of the time – it’s a much better life!

Enjoy the Movie! I think you are going to LOVE it!


Quick fix for a bathroom with old Pink Tile and Teal Accents

Everytime I walked upstairs, I had to pass my daughters bathroom with light pink 80’s tile and teal accents around the tub. It slowly was driving me nuts. Last weekend, I jumped in and did some quick and inexpensive updates. In the perfect world, I would rip out the tile, buy new cabinets, etc., but the reality is…  a few inexpensive updates – haha! It’s decorating on a budget for this room.

I decided to go with a color pallete of light pink (imagine that!), cream and black with chrome accents. Notice I left the teal out. The teal tile was around the tub/shower area which already had glass doors and I decided to find a way to hide the teal tiles. There are some great products on the market to paint tile, but I wanted to keep this project to a miminum and opted not to do that. The cabinets were older, brown and scratched; since she wanted a more modern feel, I did decide to paint them black. 

When choosing paint for a room that has a existing color that you don’t like, sometimes you want to go in a different direction. In this case, I embraced the pink and matched the wall color to it. It’s a light enough color that it really becomes a neurtal back drop for everything else.

I decided that the room had a lot of hard items and wanted to add some warmth and softness, so even though I have glass shower doors, I added draperies to either side with a chrome rod and clip rings and very inexpensive walmart linen drapery panels. Not only did it hide the teal down the side of the shower, but the added height had a modern touch and really added some character.


 I had chrome faucets, but awful gold hardware everywhere else, so I picked up some chrome door handles and brushed aluminum switch plates – both are inexpensive items that can make a huge difference. I also added a couple of towel rings and wall hooks in chrome with plastic glass ball accents which added some nice detail and sparkle.


Next I went to my daughters room and borrowed three black decorative boxes to set at the foot of the tub, a black candle base with creme candle, and a black picture frame. I had a silver tray that I grouped all of her perfume and set it along with the candle on the back of the toilet. Grouping are always a great way to organize similar items and to avoid the look of clutter. I had a long creme bath rug, and for now that will work – although I do prefer a nice area rug.   


My final touch the addition of two fashion drawings that I found at hobby lobby. They had an abstract background with  mixed shades of pink and bold black drawings of a gloves on one and a hat on the other. They pulled everything together perfectly. The whole project was less than $150.00, which isn’t bad for a fresh new look and a happy daughter. They do say you are only as happy as your unhappiest child. Think about that one. That’s a blog in itself!